Getting Started with Rackrr
This guide walks through how to launch and access GPU-backed compute on the Rackrr platform.
Rackrr enables users to provision GPU-enabled virtual machines (VMs) for AI workloads without managing underlying infrastructure. You can choose compute based on workload requirements, configure resources, and launch instances in minutes.
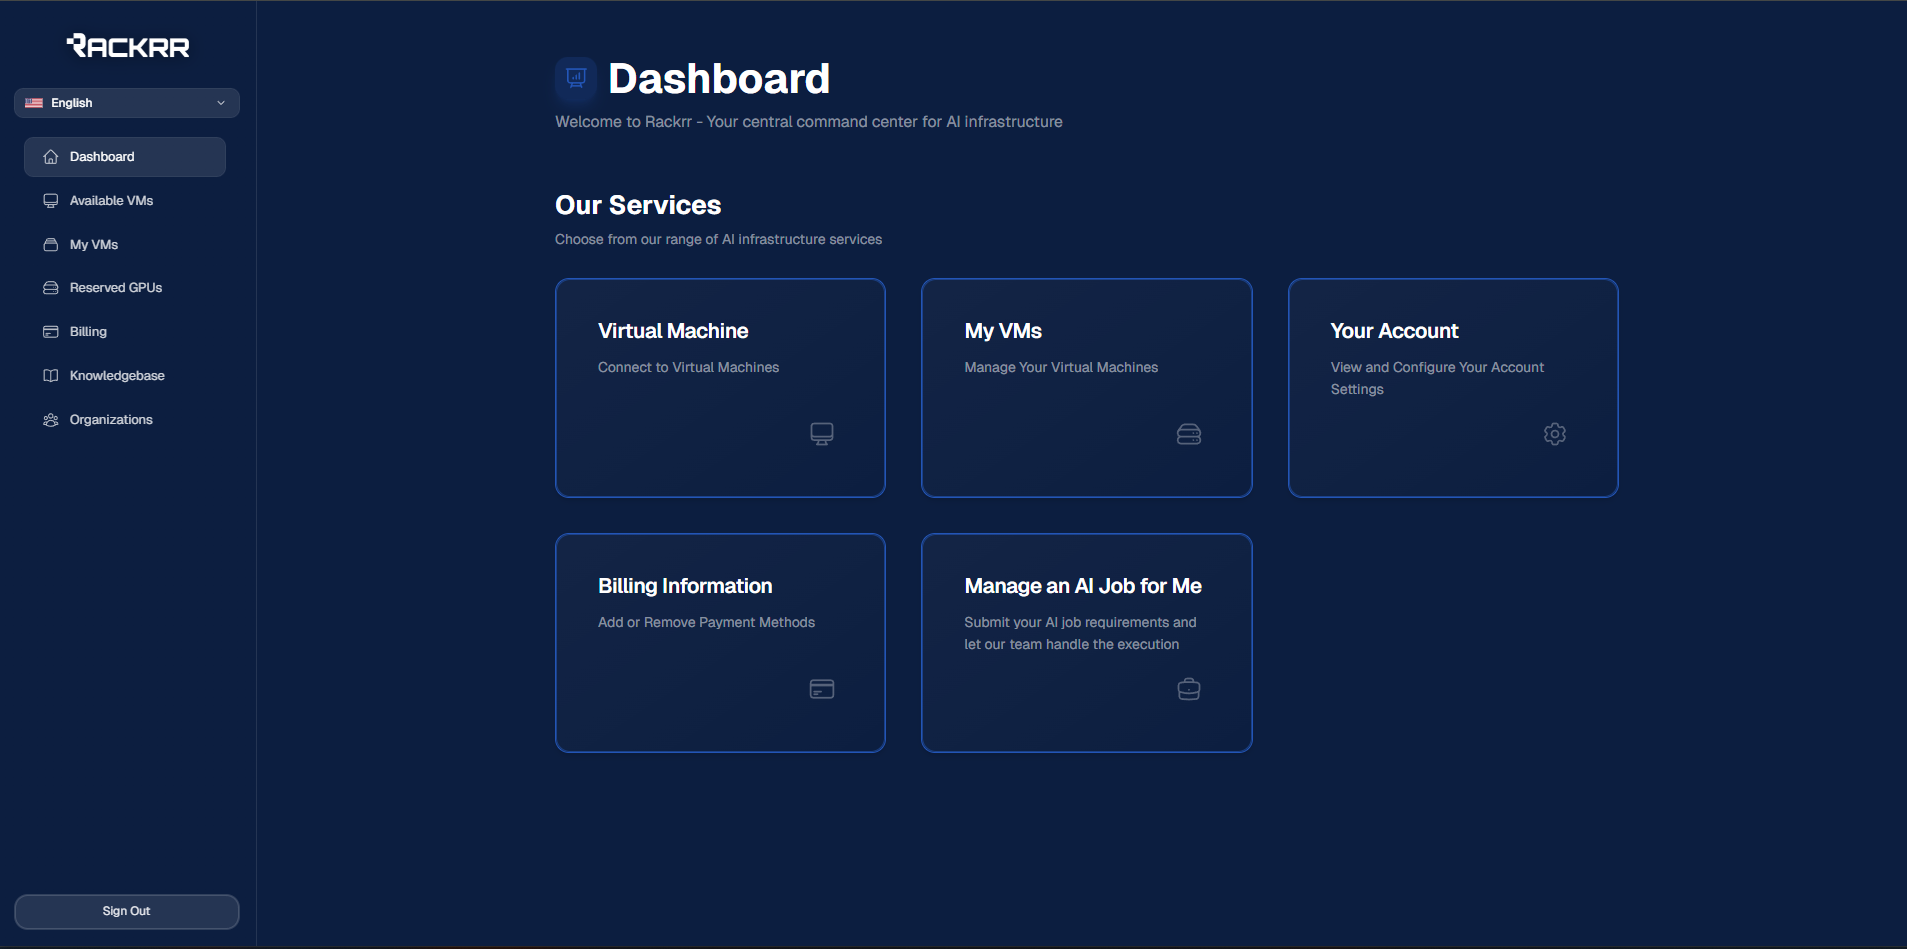
Accessing the Platform
After signing in, navigate to Available VMs from the main dashboard or left-hand navigation.
This section displays available compute capacity across regions and operators.
Selecting Compute Capacity
You will see a list of available servers. Each server represents a physical machine with defined limits for:
- CPUs
- GPUs
- Memory (RAM)
- Local storage
- Network bandwidth
- Geographic location
Pricing and maximum allocatable resources are shown per server.
Your choice should be driven by:
- workload type (training, inference, batch jobs)
- performance requirements
- budget and runtime expectations
Enterprise-grade GPUs are typically used for large-scale training and inference, while lighter workloads may be better suited to workstation-class GPUs.
Creating a Virtual Machine
Once you select a server, you can begin configuring a virtual machine.
Configure VM Resources
Under Specifications, define the following:
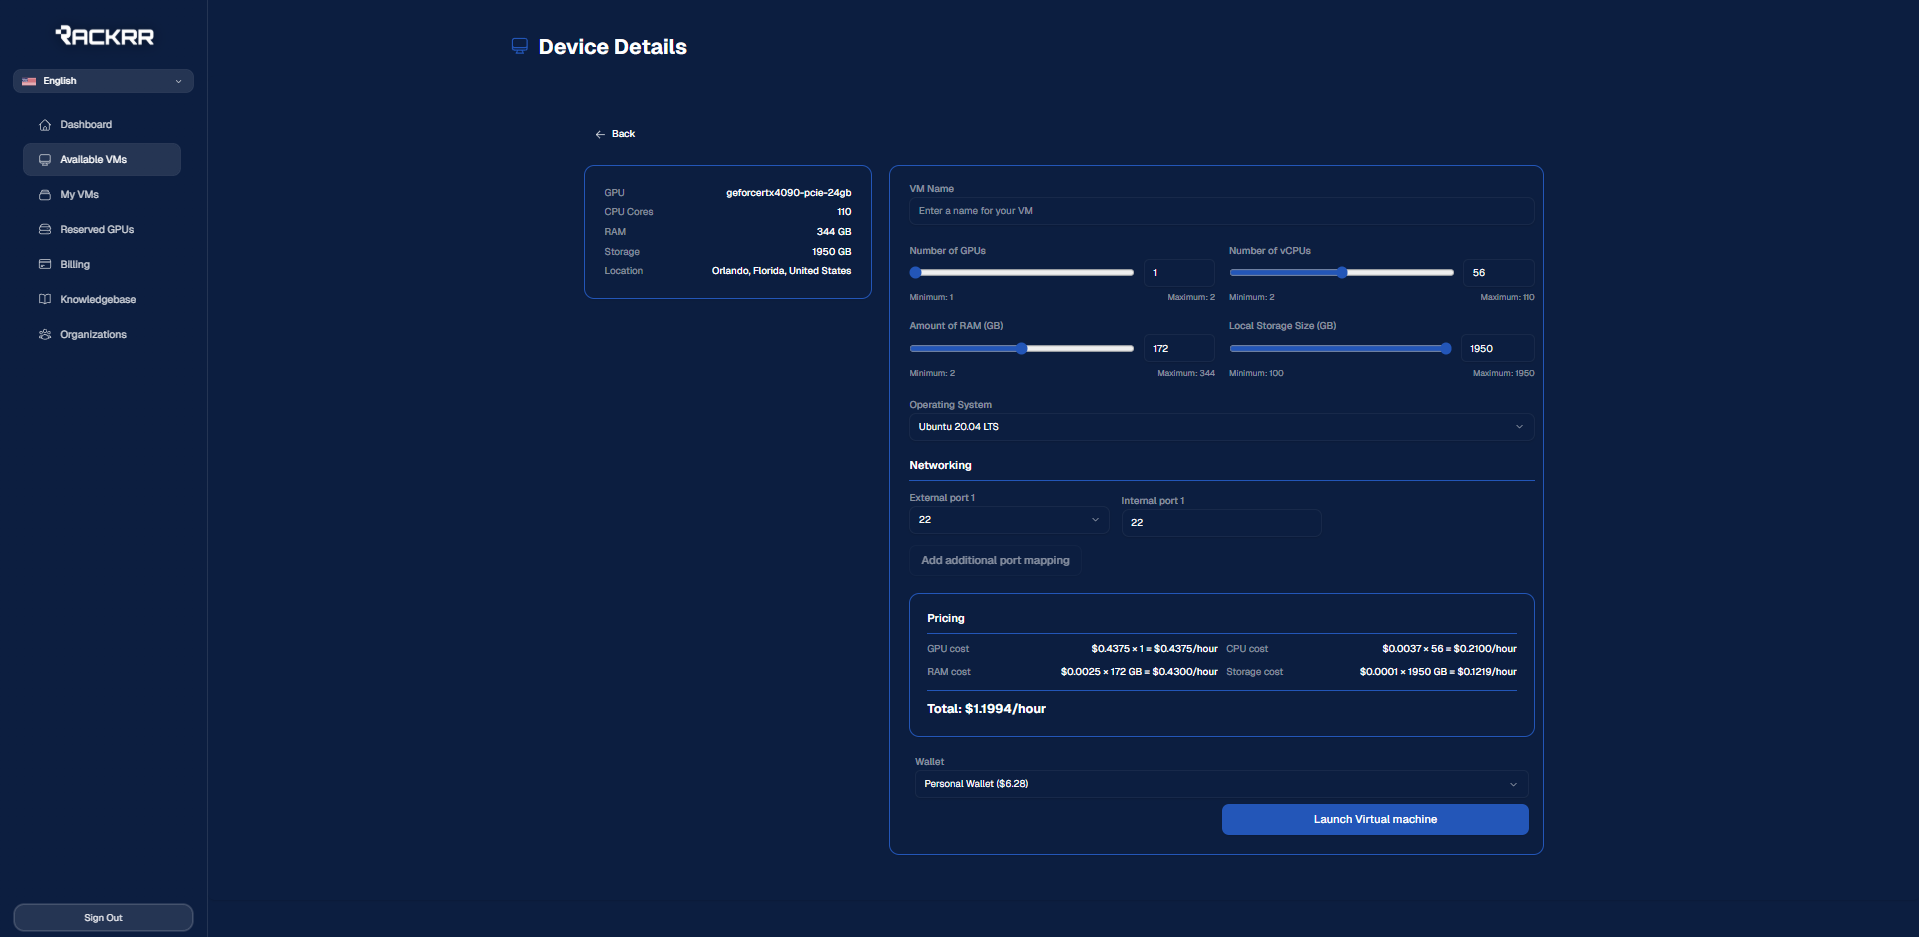
- vCPUs Minimum of 2 (even numbers only). Maximum depends on server availability.
- RAM Minimum of 4 GB (8 GB for Windows-based instances).
- GPUs Minimum of 1. GPUs are the primary cost driver.
- Storage Local disk space. Minimums vary by operating system.
- Operating System
Available options may include:
- Ubuntu 22.04
- Ubuntu 20.04
- Ubuntu with preinstalled AI frameworks (e.g., PyTorch, TensorFlow, Jupyter)
- Windows (where supported)
The operating system selection does not change pricing directly, but different OS images may have different minimum resource requirements.
Networking & Access
For security and isolation reasons, direct server ports are not publicly exposed. Instead, access is managed via port forwarding.
Default Ports
- Linux (Ubuntu): SSH via port 22
- Windows: Remote Desktop via port 3389
These are automatically configured.
Additional Ports
You may optionally forward additional ports for services such as:
- databases
- APIs
- web applications
- notebooks
Each forwarded port maps an external port to an internal service port.
Pricing Overview
The total cost of a VM is calculated based on:
- GPU allocation
- CPU allocation
- RAM
- Storage
GPU pricing varies by model and availability. CPU, RAM, and storage pricing are consistent across servers.
Pricing is visible before launch so you can review the estimated cost.
Launching the VM
Click Start Virtual Machine to provision the instance.
After submission:
- Credentials will be displayed (temporary password)
- Initial provisioning may take 10–15 minutes
During this time, the VM may not be immediately reachable.
Accessing Your VM
Linux (Ubuntu)
Connect using SSH:
ssh -p <ssh_port> user@<vm_ip_address>
If prompted to confirm the host key, type yes.
You will then be asked for the temporary password provided at launch.
Windows
Access Windows instances using Microsoft Remote Desktop.
When adding a new PC:
<vm_ip_address>:<external_port>
Use the password shown at launch.
Common Connectivity Issues
Connection Refused / Network Unreachable
These errors usually indicate the VM is still provisioning. Wait a few minutes and retry.
Host Key Changed
If you receive a host key warning, it typically means a new VM has been created on an IP address previously used.
You can:
- Remove the old entry from your
known_hostsfile - Or bypass host key checking for that connection
Running Jupyter Notebooks
If your VM includes Jupyter:
- SSH into the VM
- Start Jupyter:
jupyter notebook --no-browser --ip=0.0.0.0 --port=8888
- Copy the generated URL
- Replace
127.0.0.1with the VM's IP - Replace the port with the forwarded external port
- Open the URL in your browser
Stopping a VM
You can stop a VM to retain data and pause compute billing.
When stopped:
- GPUs, CPUs, and RAM are released
- Storage remains allocated
- You are billed for storage only
If capacity is unavailable when restarting, you may need to wait until resources free up.
Terminating a VM
To permanently delete a VM:
- Navigate to the VM
- Select Terminate
- Confirm the action
This permanently deletes all data and stops all billing. This action is irreversible.